Showing posts with label diy. Show all posts

Tuesday, October 22, 2013

Adventures in Sewing

This is a ranty/jargony blog post. You have been warned!

So, my sewing machine can't handle leather. It just can't. I thought maybe only industrial machines could do it but after watching some YouTube tutorials featuring dudes sewing leather no problem with domestic machines, I knew I must be missing something. Turns out that something was a walking foot--an attachment that has feed dogs that sit on top of your fabric, allowing all kinds of material to pass through smoothly. Whenever I tried to sew leather before, my machine would shake, sew in one place, or in crazy zigzags. It just couldn't handle it.

My mom lent me a walking foot a while ago but I put off trying it out because I was nervous that it wouldn't work and then where would I be? Well, it didn't work, but for a reason I couldn't have predicted. It didn't fit!

Nooooooo!

It hovered about half an inch over the plate, holding nothing in place. I started investigating and discovered there were different levels of shanks--the distance between the bottom of the presser foot and the screw that holds your foot in place. The walking foot my mom lent me is a low shank which fits her machine no problem. I thought I needed a high shank. Seems simple enough, right?

From here.

Nope. I found a forum post from a girl who had my exact Singer sewing machine (model 6233) and was confused as to why her walking foot didn't go all the way down to the plate. My exact problem! I hit the jackpot. Reading on, I was surprised to see her machine had a slanted needle.

Wait, what?

My machine has a slanted needle? No way. That's weird. I called my mom (I was at work at the time, driven mad by the fact that I couldn't just look at my machine for answers) and asked her if she remembered the machine's needle being slanted, as it was her machine years before it was ever mine. She was as shocked by the prospect as I was and we both felt we would know if the needle was slanted.

Oh, so wrong. I got home and saw this:


Whaaaaat. Upon further investigation, it seems that the slanted nature of the needle is probably the reason why my mom and I prefer this machine. Having the needle slanted towards you actually increases visibility while sewing, as the light hits the needle full on.

Okay. So I needed a walking foot for a slant needle.

I called my go-to supply store to see if they had what I needed. The owner hadn't heard of a slant sewing machine but he said he would contact his supplier. He called me back a few minutes later saying the supplier hadn't heard of slant, either. Only high and low shanks. I see... I called one more place and was met with a "WHAT??" I didn't understand. The slant needle is definitely a thing, albeit rare. When I told friends about the slant they reacted with concern, as if my machine was in need of repairs. It's not common, but sewing supply stores really should know about it. I did eventually find a ton of slant needle attachments here including this walking foot that specifically said it was compatible with my Singer model, 6233.

Turns out, finding this website was a dream come true. Quickly giving up on the idea of buying the part in stores, I ordered the foot. They processed and shipped my order within hours of placing it, responded to my email queries promptly, and I received my part not even a week later. Not to mention the walking foot is perfect. It fits like a glove and sews leather with ease. Game changer!


Now that I can work with leather, my to-sew list has increased dramatically in preparation for holiday craft shows!

A sneak peek!

Monday, October 7, 2013

DIY Labels // Custom Stamps


This is not so much a tutorial as it is a suggestion. I was initially hesitant to get a stamp made. I didn't really understand how easy it was going to be, or how inexpensive. When I was decorating my office I had to make a few trips to the Staples Print Centre and while investigating their pricing online, I saw they made rubber stamps. So I just went for it. I figured I'd be monopolizing the Print Centre employee (shout out to Eleanor!) that I may as well do everything all at once. The process involved a webcam chat with another Staples employe. All and all very exciting.


My stamp was only $10 but since I used a non-standard font, it was treated as an image and was created in a slightly different way, for slightly more money. The total was just under $20 and in my opinion was super worth it.


Now that I have my stamp, my opportunities are endless! I can use it on any sort of labels I want, whether it's this cotton ribbon, a different cotton ribbon, or if I want to stamp it directly onto the lining fabric. I can stamp it onto packaging ribbon, or as a seal on an envelope or thank-you card. I can change the inks as much as I want. I can use it on tags for craft shows, or on my friends' skin when they're not looking.

A worthy investment!

Wednesday, September 25, 2013

DIY Spike Necklace


When a good friend of mine was visiting recently we made it a priority to visit Queen West which, for those who don't know, is Toronto's craft mecca. Tons of stores dedicated to fabric, beads, yarn, buttons and ribbon...mmm... My friend spotted these spikey beads in one of the stores and bought a few in gold. I thought they were so fabulous that I had to follow suit and voila! A DIY was born.

What You Need:


Pliers, wire cutters, small spikes, large spikes, jump rings and a clasp.

We found these spikes at Arton Beads in Toronto. They came in gold and silver, plastic or metal. These ones are plastic so the necklace is light and less of a weapon. Each pack came with roughly 25 beads at only a few bucks a pop. Not bad!


Cut two lengths of chain: 17 inches for the short spikes, 18 inches for the long spikes.

If you think you might want a different length for this necklace, always always always cut more chain than you need. Then you can trim to your heart's desire.

To attach the spiked pendants to the chain, you'll be using your pliers to open and close the jump rings.


Starting with the smaller spikes and the shorter chain, string the pendant onto the jump ring and slip it through one of the links in the middle of your first chain.

I started from the middle and worked my way out to ensure that my cluster remained centred. It's a massive pain to do all that work only to have to redo it!

Space them out about two chain links. The spacing totally depends on the size of the links of your chain so test it out. For my chain, I found 1 space left in between looked nicest.


Try to keep your chain as flat as possible when attaching your spikes.

Keep going until you have 2.5 inches of spikes (17 spikes), or, really, however many you want. You don't actually have to listen to me ;)

Once you get a ton of them on the chain they start to fall into a big cluster.

Move on to adding the longer spikes to the longer chain. Repeat the steps above in attaching the pendants however this time I left 3 spaces in between spikes, having a total of 3.5 inches of spikes (13 spikes).


When you are happy with how the spikes are looking, use two more jump rings to attach the chains (again, careful not to twist them) to your clasp and pow!


Ways to change it:
- Increase the number of spikes per chain.
- Increase/decrease the length of chain, creating more a different shape in the final necklace.
- Add a third strand of spikes, maybe a different colour.
- Paint the spikes using a bright nail polish.

Hope you enjoyed this tutorial!

Friday, September 13, 2013

Itching to Knit


With the cooler weather comes the uncontrollable urge to curl up with a cup of tea to make cozy things with colourful yarns. Last year I made seed-stitched cowls, cabled boot cuffs and braided headbands. What should I do this year? I am leaning towards stocking up on pillow forms, thick yarns and whipping up a batch pillows for my bed, but for now here are some fabulous patterns I've come across lately that would make amazing gifts:

Devonshire Cream pattern by Laura Aylor

Chic Easy Shrug by Fine Craft Guild (sign up to view the pattern)

Herringbone Cuddler by Kara Mayfield

Follow me on Pinterest to see more of my favs!

Monday, September 9, 2013

Welcome Back!

Well, hello again! I am officially back in business after my Summer Hiatus. Sometimes it is so necessary to give yourself some time off, to recharge, relax, to step back and take perspective. Also, my apartment doesn't have air-conditioning so sewing was just not an appealing activity for a while. Anyhow, the time has come to get to get back into it!

I've bought tons of new fabric, I have many new ideas for the store, the blog...and maybe even something else entirely. You'll have to check back and see!

For now, here's a peek at what I've been up to.

Hanging out with Feathers of Gold at her craft show last month.

I got a glue gun so I promptly glued things to other things.

I recently moved into a new office at work and so decorating was in order!
More on that later, I promise!

Getting inspired to try some new packaging ideas...

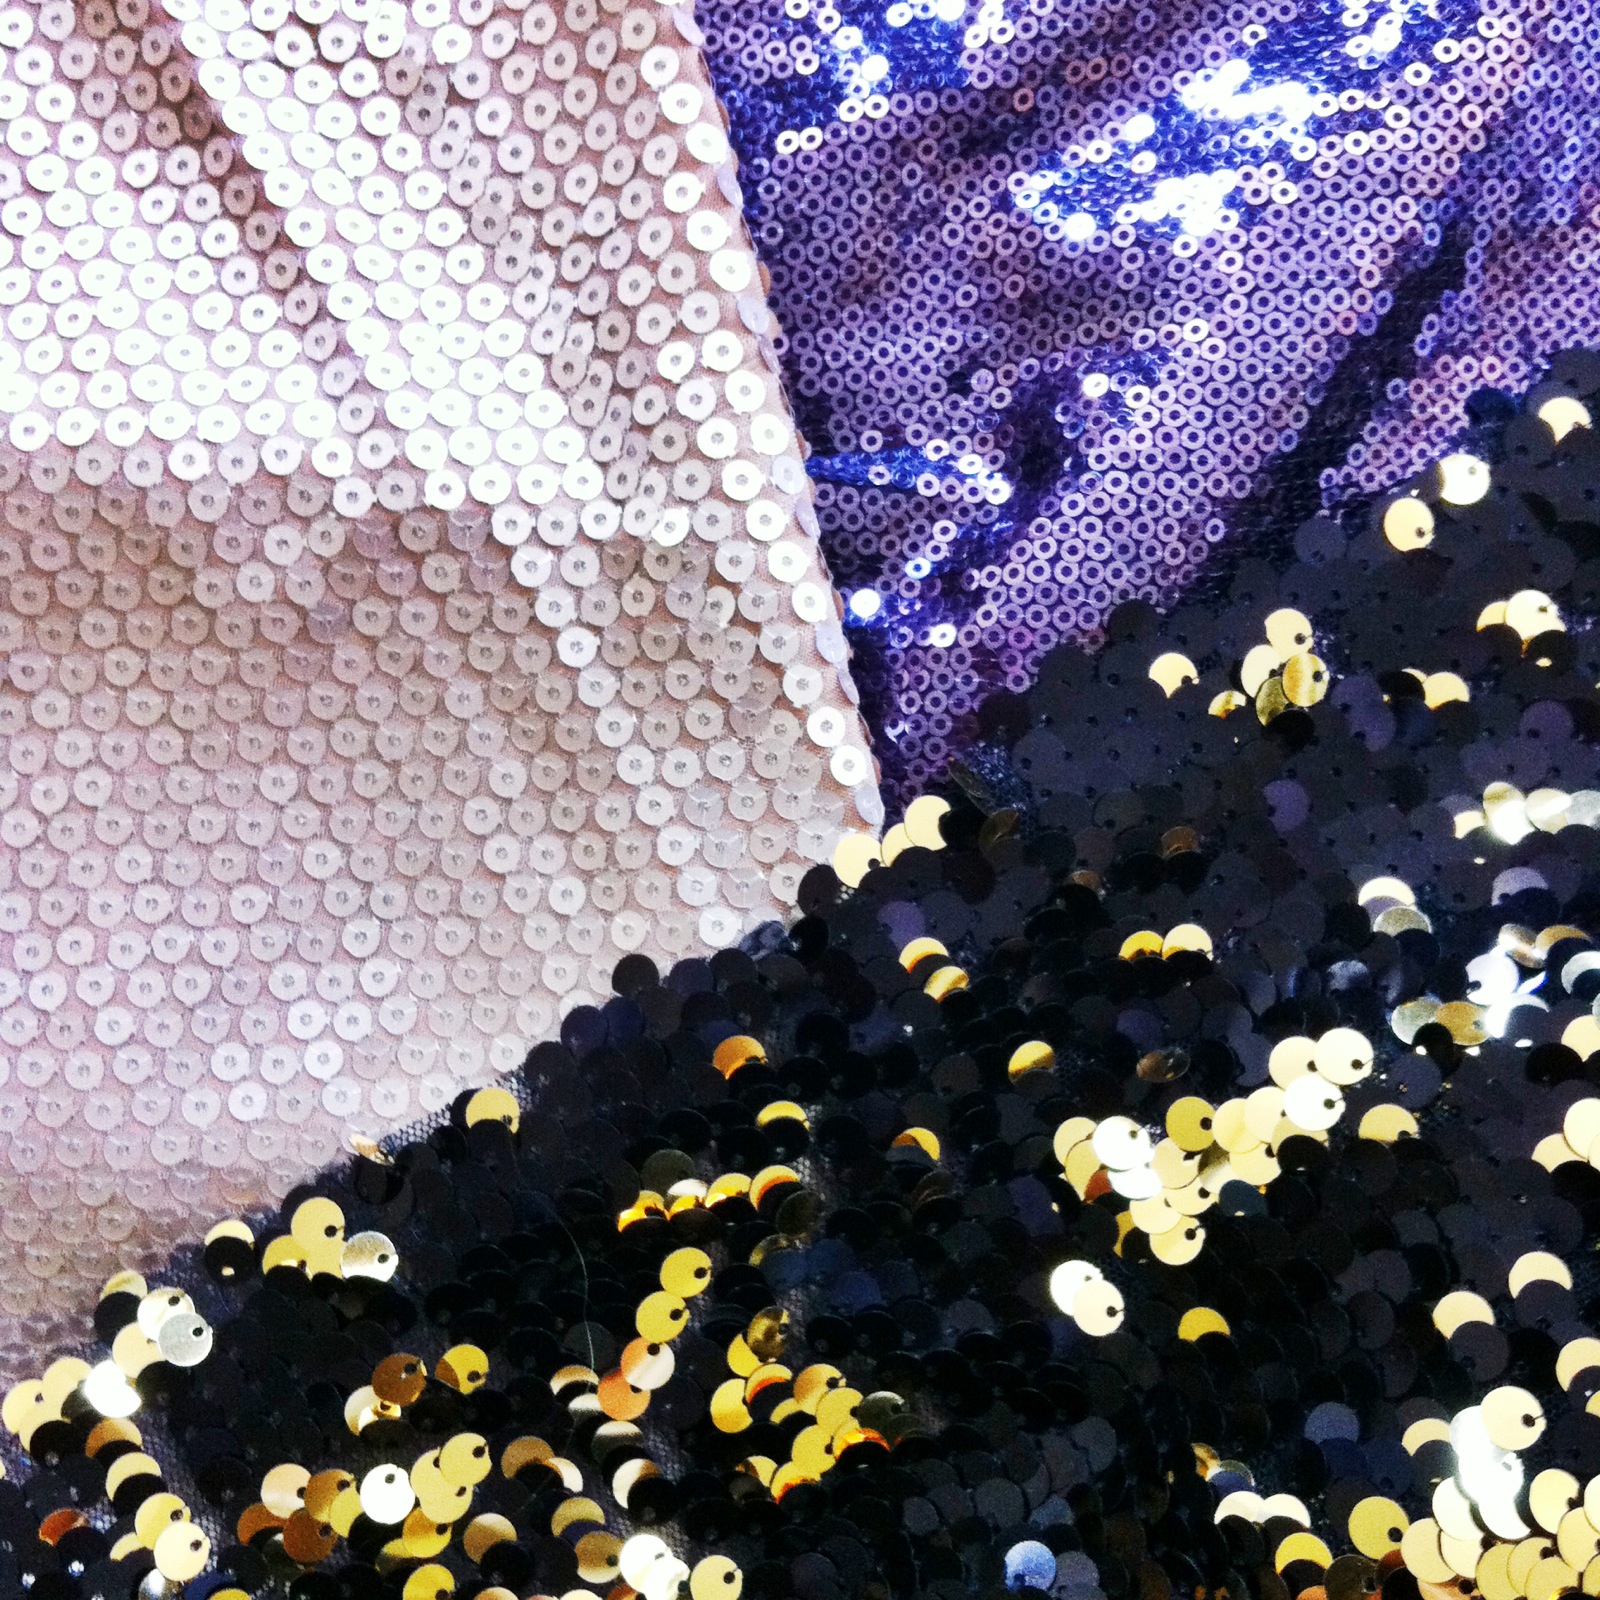
Sneak peek at one of my lovely new fabrics!

See you soon!

Monday, May 20, 2013

Sequins and Signs


When I first set out with my Etsy venture, I wanted to make things with sequins. Who doesn't love sequins? But I held off because $$$ and lack of patience. But this craft show is the perfect excuse to do a little bit of splurging. And since I'm so ahead of the inventory game, I can take the time to do battle with the rebellious nature of the sequins. And damn, is it ever worth it.

My three new babies.

Mad love.

***

As stated in this post, I wanted to burn a wooden owlswakeup sign. It didn't happen. And I think that's for the best hahaha. I had a small amount of a certain tapestry fabric leftover in—whaddya know—a perfectly sized rectangle. Oh and there's still the matching vinyl left? Score. I wanted my sign to be relevant to my shop and, well, to cost me nothing. I laughed when I found this piece of fabric because it couldn't have been more perfect.

As for the DIY itself, I kept it simple. I printed off the text in the size I wanted, cut out the letters to act as stencils, traced them onto the vinyl and then cut them out again. Finicky, but not as time consuming as I had expected. I then trimmed and hemmed the fabric and glued the letters. Simple yet effective!

Multitasking: my table was totally in craft-show-test-run mode.

Ready to glue!

I'd say I'm almost ready for the show. My main concern is finding one more display item. I must consider a plan B if I can't find anything suitable. Thank goodness for Pinterest! It's actually been saving my butt when it comes to display ideas! Check out my craft show board for inspiration!

Happy long weekend!

Wednesday, May 1, 2013

Favourite DIYs Lately

There are some seriously fabulous DIY tutorials out there. Here are some of my favourites:

Honestly WTF—DIY Pearl & Safety Pin Necklace

Design Sponge—DIY Wall Organizer

For the Makers—Fitzgerald Floral Embroidery

Swell Mayde—Gold Gilded Geode Ring

Of course there's always the one unattainable DIY. A friend has promised that when he wins the lottery and becomes a carpenter, he'll make me a piano desk. Until then… Until then…

Apartment Therapy

There's already a B on it and everything. Just be mine!

Wednesday, April 24, 2013

DIY Short Necklaces


This past week I have become obsessed with short, beaded necklaces. Inspired by gorgeous spring jewellery collections, I encountered two problems: poverty and wanting things immediately. So bring on the DIY.

I bought many of my beads (including those lovely turquoise stones) at my favourite bead store in Toronto, Chaton Beads BUT just this weekend I learned (the hard way) that Chaton Beads is no more. Sadness. Yes, there are a dozen other bead stores on that same block, but this one was The One.

Anyhoo, this DIY is waaay quicker than my other necklaces and adds a lovely pop of colour to any outfit. Also it really doesn't matter what beads you use so if you can't decide, just make several! I set out to only make one, but clearly went overboard. Nothing new here! *blush*

What You Need:

Beads (whatever you like, enough for a 2-3 inch strand)
Fishing line (beading string)
Pliers
Wire cutters
Small crimping beads (Full disclosure: the ones I used were way too big so they turned out quite wonky. I'll likely redo them at some point because I can't deal with wonky.)
Jump rings (4 per necklace)
Chain (2 strands at 8.5 inches each*)
Clasp

The finished necklace measures 19-20 inches, dependent on your beads. *My advice regarding the chain is to always always cut a bit more than you think you need and clip it later once you've tried it on.

Step one. Decide on a pattern. Honestly, this part always takes me ages. AGES.

Cut several inches of your fishing line.


String your crimping bead and a jump ring onto the fishing line. Loop the string back through the crimping bead, leaving a tail. Pull tight, and smoosh the crimping bead shut with your pliers. Your string should be trapped.


String your beads onto the fishing line, tucking the tail through the beads as well, effectively hiding it.


When you come to the end, string your last crimping bead and jump ring on the fishing line and this time when you double back through the crimping bead, string your fishing line through a few beads only and pull the end tight. Smoosh the crimping bead. Trim the tail. (I realize that was a tongue twister.)


You're done the strand! It was so quick and easy that I made several. Whoops.


Using jump rings (and pliers to open and close them), connect your chain strands to the clasp and to your beaded strand.

Wear it.


Saturday, April 13, 2013

Wood Burning

So I went to Michaels a little while back to get gold paint for this post when I was quickly coerced into buying a wood burning kit. I was not a hard sell. Truth is I was already thinking about using wood burning to make myself a wooden owlswakeup plaque for my home/future craft shows etc. Anyways, I was browsing the paint when a sales associate asked me what I was making. When I told him about the leather bookmarks, he asked me if I had considered heat embossing the leather. Naturally, I was intrigued. He took me over to show me what I thought were the wood burning kits, but it turns out you can burn many things. I was sold.

I tried it out while I was visiting my parents (it sure helps that they had spare pieces of wood leftover from their deck) and quickly discovered that wood burning is extremely difficult. The grain does not want you to burn a straight line and will fight you till the end.

But it sure smells amazing! I'll post more pictures of things I've burnt once I get good at it. If I ever get good at it.

My parents had the perfect piece of wood to practice on!

Waiting for it to get (surface-of-the-sun) hot.

Different levels of burny-ness while waiting for the wand to heat up.

Keeping control was incredibly challenging!

Hissssssss…

Definitely something worth practicing!

Tuesday, April 9, 2013

DIY Collar Necklace


Hello again! Time for another DIY!

The Peter Pan collar trend is still going strong, although I must admit I wasn't always on the bandwagon! I'm still not 100% convinced that I could rock one of these collars on a blouse, so I made a more subtle one in necklace form. Also, if I had a cameo she would be right smack dab in the centre. But alas I do not. Maybe you do??

What You Need:
Beads (I used 66 for this project), eye pins, jump rings (3), clasp, round-nosed pliers, pliers, wire cutters.


String your first bead onto your eye pin. Using your pliers, bend the wire at a 90 degree angle.


Using your wire cutters, clip the wire so you are left with just under 1cm.


Using your round-nosed pliers, bend the wire to form a loop. Leave the loop slightly open. Set aside.


Repeat with your next bead. These beads are going to be linked together to form the "chain." Slip your second bead's eye pin loop through your incomplete loop to connect them. Using your round-nosed pliers, close this loop. See photo for illustration:


Continue these steps until you have two lengths of 19 beads each, and two lengths of 14 each.

Note: the numbers of beads listed is simply what I used for this project. Feel free to make it longer or shorter dependent on the size of beads you use! It's up to you!

The two longest chains are connected with one jump ring. Two more jump rings are used to connect the beads to the clasp. Use your pliers to open and close your jump rings.


Here is where the jump rings should be attached:


The final step of this necklace DIY is attaching the shorter bead lengths that will serve as the loops of the collar. One end of each also connects to the jump ring in the middle (as shown in the photo below) but the other two are to be connected in the middle of the longer chain. I have connected mine after the 9th bead from the front jump ring.

Note: changing this position will change the shape of your collar so feel free to experiment to find what style you like.


Using your round-nosed pliers, open the loop just enough to slip it through the loop from the bead's eye pin that you're connecting it to, then close securely. That was a bit of a mouthful, so here's a close-up of what this connection should look like.


Do the same for the other side. And you're done!


Not the greatest photo, but here's what it looks like on!