Showing posts with label supplies. Show all posts

Tuesday, January 28, 2014

Supply Shopping - Getting Started

Last weekend I spent a full day travelling around the city hunting down sewing supplies for One of a Kind. It was a ton of fun!! Then, however, I turned my sewing plans into weekly goals and officially freaked myself out. There is lots to do in the next two months! Anyways--this is the first of several picture posts!

Waiting at the cash while the ladies sort through my zippers...

Seems like enough, right? Haha no.


Guhhhhh.

As soon as I bought this I knew I would have to go back for more.

Got a great deal on this gorgeous floral tapestry!

My first big leather purchase and I couldn't be more excited!

Monday, May 20, 2013

Sequins and Signs


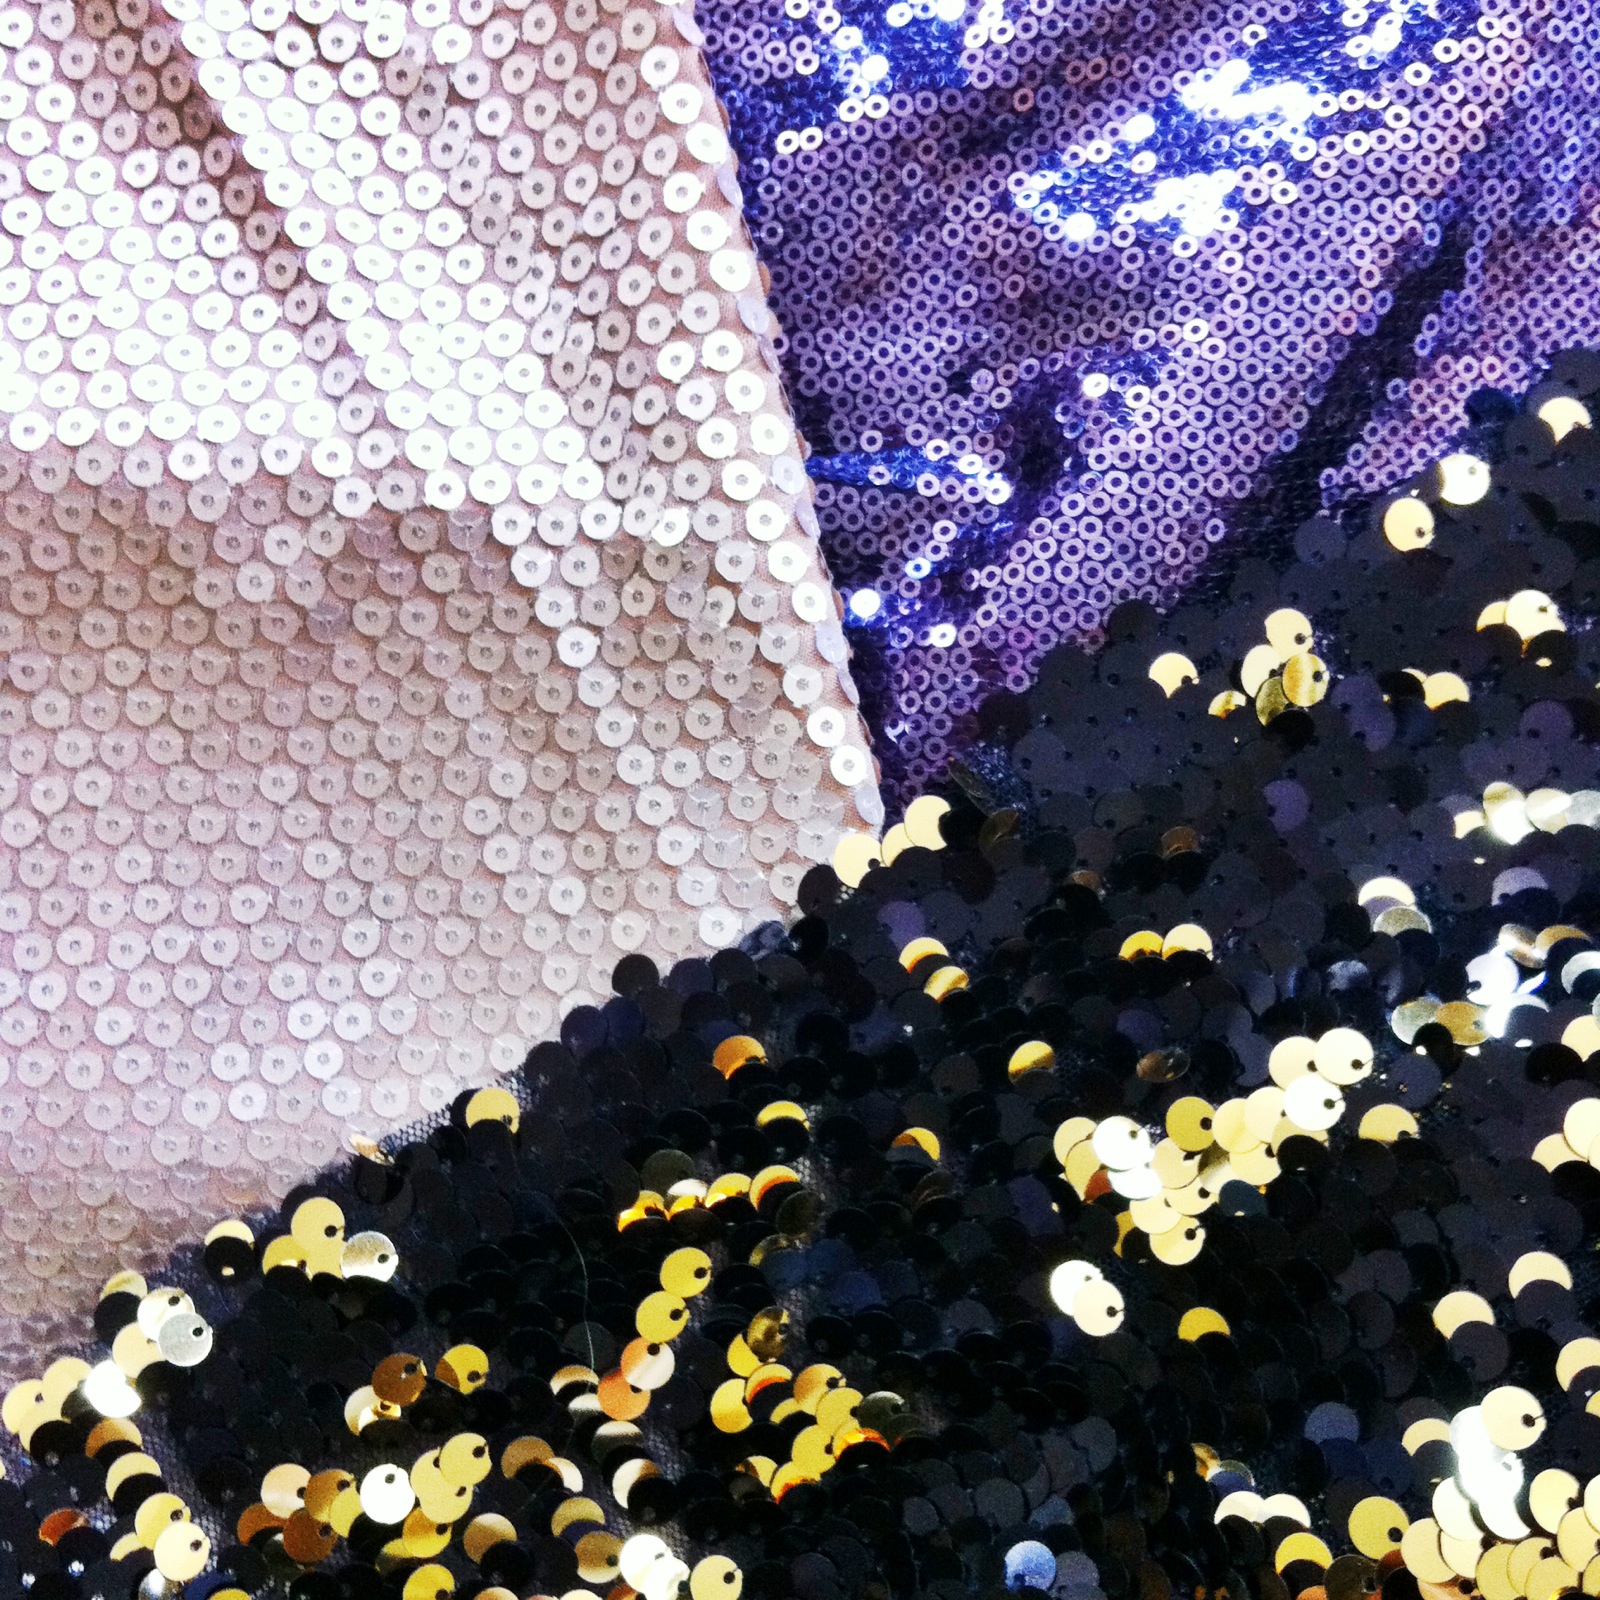
When I first set out with my Etsy venture, I wanted to make things with sequins. Who doesn't love sequins? But I held off because $$$ and lack of patience. But this craft show is the perfect excuse to do a little bit of splurging. And since I'm so ahead of the inventory game, I can take the time to do battle with the rebellious nature of the sequins. And damn, is it ever worth it.

My three new babies.

Mad love.

***

As stated in this post, I wanted to burn a wooden owlswakeup sign. It didn't happen. And I think that's for the best hahaha. I had a small amount of a certain tapestry fabric leftover in—whaddya know—a perfectly sized rectangle. Oh and there's still the matching vinyl left? Score. I wanted my sign to be relevant to my shop and, well, to cost me nothing. I laughed when I found this piece of fabric because it couldn't have been more perfect.

As for the DIY itself, I kept it simple. I printed off the text in the size I wanted, cut out the letters to act as stencils, traced them onto the vinyl and then cut them out again. Finicky, but not as time consuming as I had expected. I then trimmed and hemmed the fabric and glued the letters. Simple yet effective!

Multitasking: my table was totally in craft-show-test-run mode.

Ready to glue!

I'd say I'm almost ready for the show. My main concern is finding one more display item. I must consider a plan B if I can't find anything suitable. Thank goodness for Pinterest! It's actually been saving my butt when it comes to display ideas! Check out my craft show board for inspiration!

Happy long weekend!

Sunday, April 28, 2013

Inspiration: Hand-Printed Fabrics

I'm game for pretty much any DIY, but lately hand-printed fabrics have been catching my eye. Can't find the pattern you want? Make it yourself. There's a screen-printing course at The Make Den that I've been hmm-ing and haw-ing over for a while. However, I don't have the space in my home to really get into this right now. Yet another thing to add to my future dream craft room :). So I guess I'll just have to admire from afar:

Wednesday, April 24, 2013

DIY Short Necklaces


This past week I have become obsessed with short, beaded necklaces. Inspired by gorgeous spring jewellery collections, I encountered two problems: poverty and wanting things immediately. So bring on the DIY.

I bought many of my beads (including those lovely turquoise stones) at my favourite bead store in Toronto, Chaton Beads BUT just this weekend I learned (the hard way) that Chaton Beads is no more. Sadness. Yes, there are a dozen other bead stores on that same block, but this one was The One.

Anyhoo, this DIY is waaay quicker than my other necklaces and adds a lovely pop of colour to any outfit. Also it really doesn't matter what beads you use so if you can't decide, just make several! I set out to only make one, but clearly went overboard. Nothing new here! *blush*

What You Need:

Beads (whatever you like, enough for a 2-3 inch strand)
Fishing line (beading string)
Pliers
Wire cutters
Small crimping beads (Full disclosure: the ones I used were way too big so they turned out quite wonky. I'll likely redo them at some point because I can't deal with wonky.)
Jump rings (4 per necklace)
Chain (2 strands at 8.5 inches each*)
Clasp

The finished necklace measures 19-20 inches, dependent on your beads. *My advice regarding the chain is to always always cut a bit more than you think you need and clip it later once you've tried it on.

Step one. Decide on a pattern. Honestly, this part always takes me ages. AGES.

Cut several inches of your fishing line.


String your crimping bead and a jump ring onto the fishing line. Loop the string back through the crimping bead, leaving a tail. Pull tight, and smoosh the crimping bead shut with your pliers. Your string should be trapped.


String your beads onto the fishing line, tucking the tail through the beads as well, effectively hiding it.


When you come to the end, string your last crimping bead and jump ring on the fishing line and this time when you double back through the crimping bead, string your fishing line through a few beads only and pull the end tight. Smoosh the crimping bead. Trim the tail. (I realize that was a tongue twister.)


You're done the strand! It was so quick and easy that I made several. Whoops.


Using jump rings (and pliers to open and close them), connect your chain strands to the clasp and to your beaded strand.

Wear it.


Sunday, April 21, 2013

Insta-Weekend

Yesterday was crafty-errand day. Did some serious supply shopping (while it was hailing, I must add), discovered my favourite bead store—Chaton Beads—closed forever, then checked out the glorious City of Craft and was so overwhelmed with inspiration that I went home and made way too many necklaces.

Find me on Instagram @owlswakeup to see the rest of my pics!

Leather and Sewing Supply never fails to get me drooling.

Looking for the perfect strap for a tote bag for my friend.

Some truly amazing artisans at City of Craft! Something to aspire to ;)

The bead obsession in full swing.

New clutches and another necklace DIY coming soon!

Wednesday, March 13, 2013

DIY Beaded Fringe Necklace

Hello and welcome! Today's DIY is the super easy and lovely beaded fringe necklace:

This tutorial is for the red one :)

Supplies: beads, chain, jump rings, headpins, wire cutters, pliers and round-nosed pliers.


If your headpins were all wonky like mine, I find a quick fix is to flatten them between the thickest part of your pliers.

String your beads on your headpins in whatever design you prefer. Go solid, go stripey, go wild. I have used 7 headpins, varying the number of beads per pin to create a triangular shape. I wouldn't use more than 7, however, because they might not fit on the pin at the end otherwise.


Using your pliers, bend the end of your pin at a 90 degree angle.


Trim the ends with your wire cutters, leaving just slightly less than a centimetre of wire left to form a loop.


Using your round-nosed pliers, carefully bend the wire into a loop. This part can be awkward so practice makes perfect! Bending the wire first helps get an even circle. Set aside and repeat these steps until you have enough headpins to make your fringe.


Measure out your chain. I made my necklace 26 inches (66 cm) long. If you want to do a different length, the best way to know where to cut is to either test out the chain in front of a mirror and/or check out a diagram. Always cut more chain than you think you need.

If you decide to make a shorter necklace, it is simple to add a clasp. You'll need two extra jump rings and a clasp of your choice. Clip your strand of chain in half and open up jump rings with your pliers to attach your chain to your clasp. Easy peasy!

Trim the stumpy end off one more headpin and then make a loop. To do this you'll bend the wire down at a 90 degree angle (again leaving slightly less than 1 cm) and use your round-nosed pliers to carefully make the loop.


You can also use an eye pin for this step if you have one long enough! Eye pins are just like headpins (available in all colours and lengths) only they have a loop at one end instead of a stump. But it is easy to make your own out of headpins if you don't have any :)

String your beaded strands onto your new pin as shown below, alternating beads in the colour of your choice as spacers to keep the fringe hanging evenly. Bend the wire to create a final loop at the end of this pin. These loops are where we will be attaching the rest of the necklace.


Using your pliers, open up your jump rings and slip on one end of your pendant and one end of your chain. Close the jump ring again using your pliers and repeat for the other side. And that's it! You're done!


Try out different colours and patterns!


Wednesday, February 13, 2013

DIY Makeup Bag


This tutorial will show you how to make a cute and easy pouch for your cosmetics! Make one for your purse or as a gift. Let's get started!

What You'll Need: 

Sewing machine, matching thread, 7 inch zipper (I'm using a nice chunky one for this project!), cotton lining fabric, sturdy outer fabric, zipper foot, regular foot, seam ripper (hopefully not!), iron, ruler, pins.


I love to use tapestry or upholstery fabrics because not only are they gorgeous but they are strong enough that you don't need to use interfacing to maintain structure.

Cut 2 pieces of your outer fabric at 9 x 6.5 inches, then cut 2 pieces of your lining fabric at the same dimensions, 9 x 6.5. Cut 1 piece of your lining fabric at 6 x 1.5 inches for your zipper tabs. (I like to leave lots of fabric to ensure the tabs don't get sucked into the machine.)


Cut 1.5 x 1.5 inch squares out of the bottom corners of each of your four 9 x 6.5 pieces. This will create the base later on.


Zipper Tabs:

With your iron, press your 6 x 1.5 inch piece of fabric in half lengthwise, open, press edges again towards the crease in the middle. Fold together along the original crease and press again. Cut into two pieces (one for each edge of your zipper). Trim your zipper edges about 0.25 inches so your tab can fit snugly next to your zipper. Using your zipper foot attachment to get your seam as close to the zipper as possible, attach your tabs. Trim edges.


Attaching the Zipper:

Align your zipper face up on your lining fabric, centered along the top edges.


Place your outer fabric on top of the zipper and lining right side to right side. Pin. Sew. Pause in your sewing with the needle in the fabric to secure alignment, lift your foot and move the zipper head out of your way as needed.


Open up your fabrics and place the other two pieces on the other side of the zipper and repeat. Always take the time to make sure the zipper head is well out of the line of fire.


Press open and top stitch down each side to finish your zipper.


Finishing:

Open the zipper. Match up right sides of each of your inner and outer fabric. Pin. Sew one seam straight across both sections with the seam allowances from your zipper always flattened toward the lining. I use the edge of my foot as a guide for my seam allowance. Slightly less than half an inch. Sew the second side.


Sew the base of the outer fabric. Now sew about an inch on each side of the base of your lining fabric from the edge towards the centre. Leave enough space to get your hand or a few fingers through. You'll need this and the zipper open to turn your project right side out in the end but you need the edges secured for the next step.


Pinch the corners together so the 1.5 inch cut edges form a straight edge with your seam centered then sew. Always be sure to backtrack your seams. I like to start these corners with my foot in the center and then go backwards and forwards for secure seams (see below picture for reference).


Make sure you are keeping your seam allowance on the bottom pointing in the same direction (instead of having a twisted bottom) when pinching together the second corner. Do the same thing for the lining corners.

You'll be left with an interesting balloon shape thing.

Now the fun part! Reach in through the opening you left in the base of the lining fabric and very gently pull your pouch right side out. Smooth out the corners.

Press together the opening of your lining. Pin. Sew. Put the lining back into your pouch.


And voila!


Hurray! Also, if you are not sewing inclined, I have these pouches available in my shop so you can check them out there too!