Showing posts with label sewing machine. Show all posts

Sunday, July 13, 2014

Checking In

Hello!

How's it going? Last summer I took a hiatus from sewing, blogging etc and I am unintentionally doing the same this year. While I have been working on new ideas for products as well as doing a few shows here and there, the blog has definitely been quiet. I figure you can't force these things so I'll just be doing updates here and there. :)

Did a very cool outdoor popup shop with Moneris in June promoting their new device
PAYD Pro which allows you to accept debit transactions!

My hiatus was a forced one as my sewing machine finally started to rebel.
A lovely man came over and whipped her back into shape. Phew!

Spending days off in yarn shops, as you do.

Last Sunday I did a shibori workshop lead by the lovely Arounna of bookhou
in Crown Flora's beautiful new shop space.

My finished pieces--still need to be ironed.

Waiting for the streetcar--it's felt like fall last week!

We had groupons for the Textile Museum and I ogled some looms.

Ogling.
Until the next time!

Monday, October 28, 2013

Tiny Workspaces

I love my apartment. It is the first place I've lived that is truly mine. I love the neighbourhood, the view, the green space, the proximity to the subway… I could go on!

However, since starting my Etsy store last year, I'll admit I am sometimes (constantly) longing for a second bedroom as my "dining table" has taken on the role of the sewing studio. I think I've finally gotten a layout that I can easily work with but I am the sort of person who likes to see all my stuff at once. Open shelves of fabric, peg boards for tools, white boards, fabric swatches on the walls etc. I'd love to be able to spread out someday.

So...clean.

It has been an exciting challenge figuring out the ways to best make use of such a small workspace. All in all the changes I've made have been unobtrusive (except on particularly enthusiastic sewing days…that's when no visitors are welcome), but any crafter would agree that having a space dedicated to your creative endeavours is living the dream! Also, if I had a bigger space I would consider making bigger items haha.

I have used this table for eating less than 5 times. Ah well.

It stayed this clean for about ten seconds.

So organized!

While lusting after craft rooms, I turn to staring at my pinboard.

Tuesday, October 22, 2013

Adventures in Sewing

This is a ranty/jargony blog post. You have been warned!

So, my sewing machine can't handle leather. It just can't. I thought maybe only industrial machines could do it but after watching some YouTube tutorials featuring dudes sewing leather no problem with domestic machines, I knew I must be missing something. Turns out that something was a walking foot--an attachment that has feed dogs that sit on top of your fabric, allowing all kinds of material to pass through smoothly. Whenever I tried to sew leather before, my machine would shake, sew in one place, or in crazy zigzags. It just couldn't handle it.

My mom lent me a walking foot a while ago but I put off trying it out because I was nervous that it wouldn't work and then where would I be? Well, it didn't work, but for a reason I couldn't have predicted. It didn't fit!

Nooooooo!

It hovered about half an inch over the plate, holding nothing in place. I started investigating and discovered there were different levels of shanks--the distance between the bottom of the presser foot and the screw that holds your foot in place. The walking foot my mom lent me is a low shank which fits her machine no problem. I thought I needed a high shank. Seems simple enough, right?

From here.

Nope. I found a forum post from a girl who had my exact Singer sewing machine (model 6233) and was confused as to why her walking foot didn't go all the way down to the plate. My exact problem! I hit the jackpot. Reading on, I was surprised to see her machine had a slanted needle.

Wait, what?

My machine has a slanted needle? No way. That's weird. I called my mom (I was at work at the time, driven mad by the fact that I couldn't just look at my machine for answers) and asked her if she remembered the machine's needle being slanted, as it was her machine years before it was ever mine. She was as shocked by the prospect as I was and we both felt we would know if the needle was slanted.

Oh, so wrong. I got home and saw this:


Whaaaaat. Upon further investigation, it seems that the slanted nature of the needle is probably the reason why my mom and I prefer this machine. Having the needle slanted towards you actually increases visibility while sewing, as the light hits the needle full on.

Okay. So I needed a walking foot for a slant needle.

I called my go-to supply store to see if they had what I needed. The owner hadn't heard of a slant sewing machine but he said he would contact his supplier. He called me back a few minutes later saying the supplier hadn't heard of slant, either. Only high and low shanks. I see... I called one more place and was met with a "WHAT??" I didn't understand. The slant needle is definitely a thing, albeit rare. When I told friends about the slant they reacted with concern, as if my machine was in need of repairs. It's not common, but sewing supply stores really should know about it. I did eventually find a ton of slant needle attachments here including this walking foot that specifically said it was compatible with my Singer model, 6233.

Turns out, finding this website was a dream come true. Quickly giving up on the idea of buying the part in stores, I ordered the foot. They processed and shipped my order within hours of placing it, responded to my email queries promptly, and I received my part not even a week later. Not to mention the walking foot is perfect. It fits like a glove and sews leather with ease. Game changer!


Now that I can work with leather, my to-sew list has increased dramatically in preparation for holiday craft shows!

A sneak peek!

Monday, May 20, 2013

Sequins and Signs


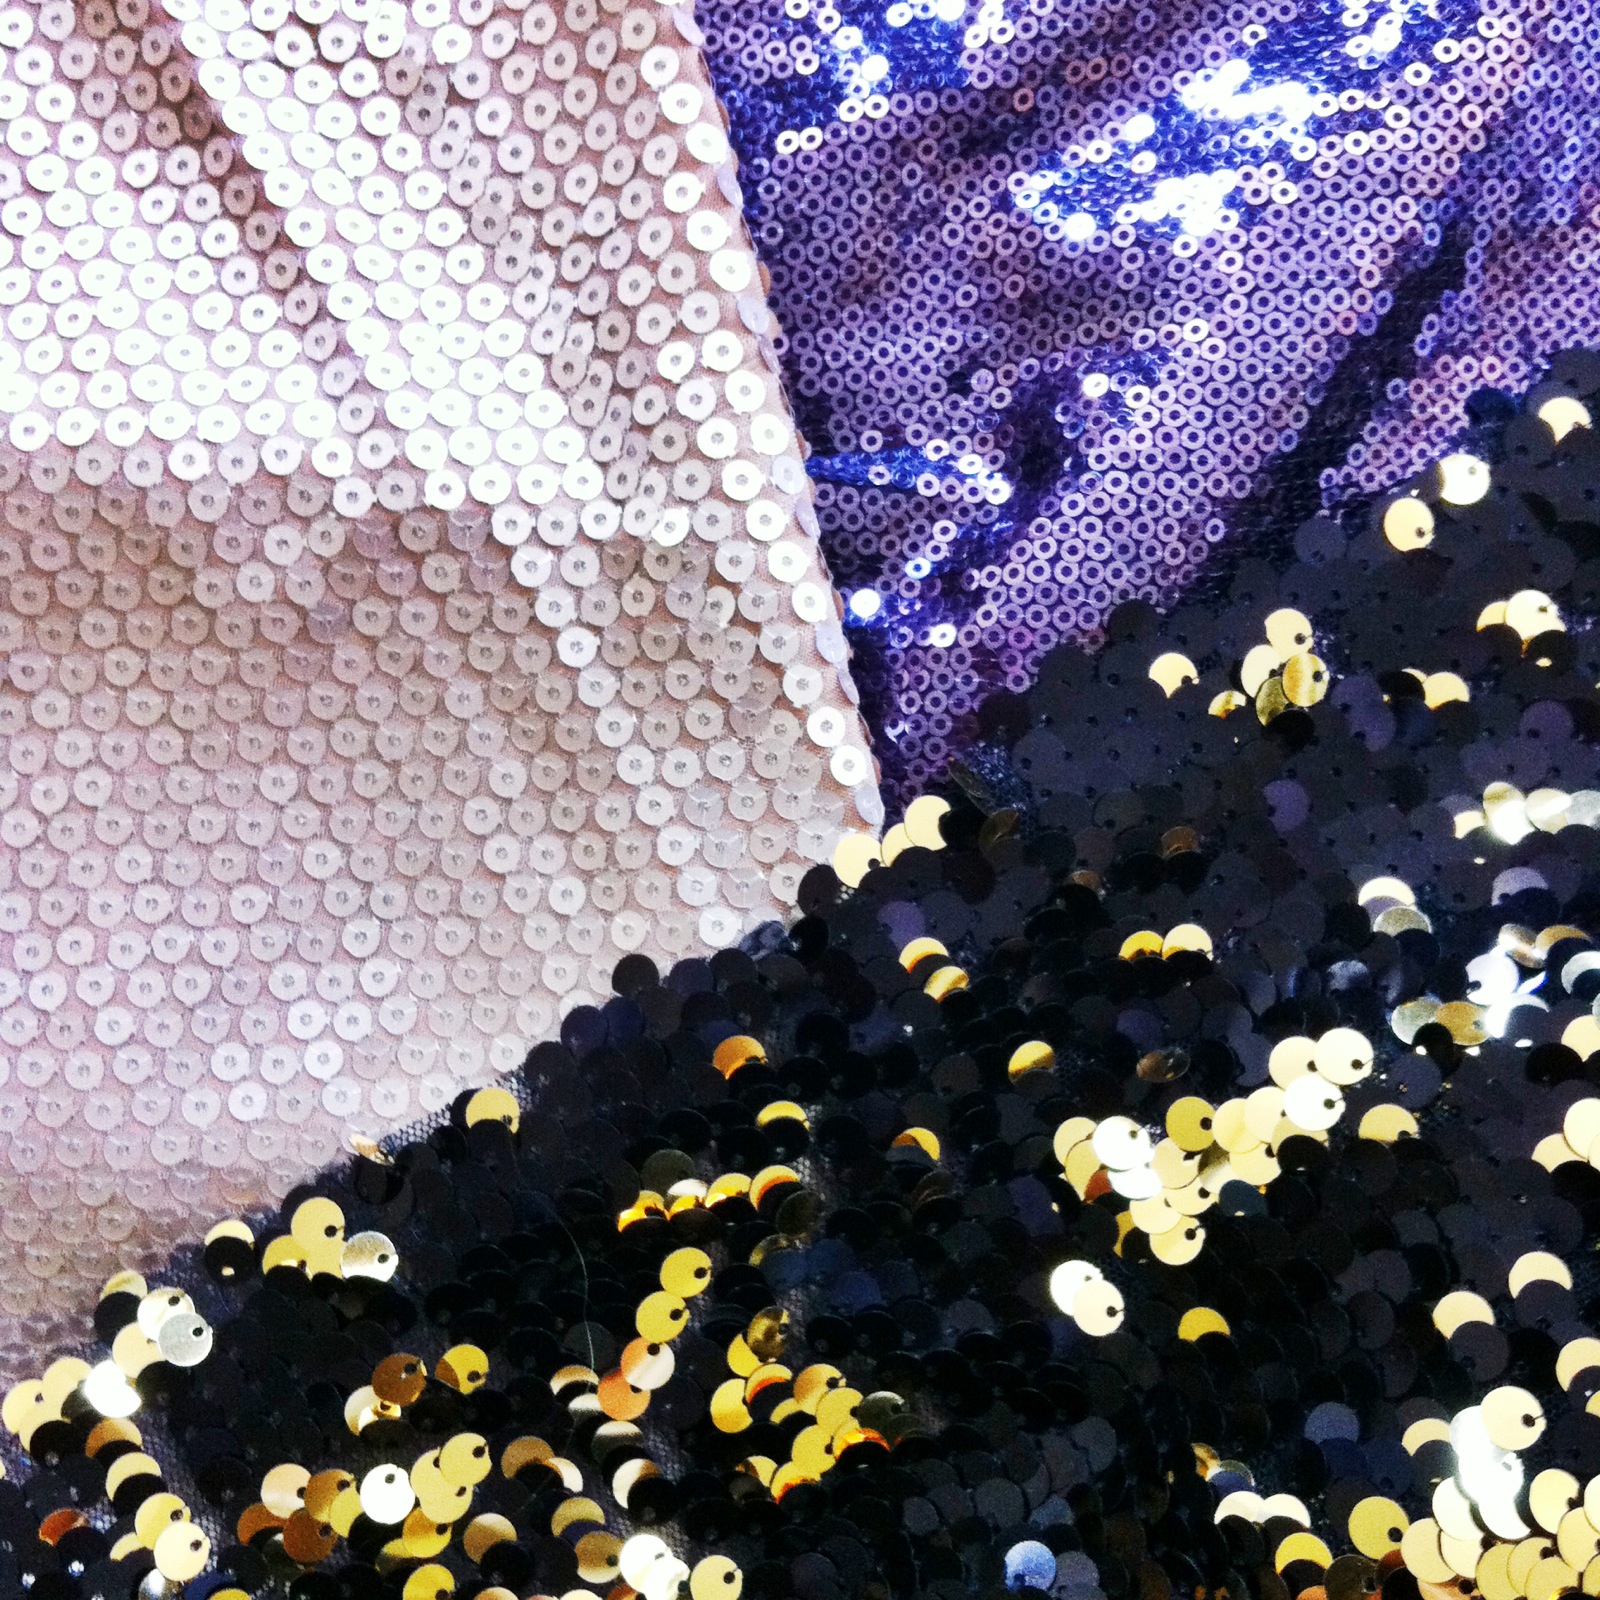
When I first set out with my Etsy venture, I wanted to make things with sequins. Who doesn't love sequins? But I held off because $$$ and lack of patience. But this craft show is the perfect excuse to do a little bit of splurging. And since I'm so ahead of the inventory game, I can take the time to do battle with the rebellious nature of the sequins. And damn, is it ever worth it.

My three new babies.

Mad love.

***

As stated in this post, I wanted to burn a wooden owlswakeup sign. It didn't happen. And I think that's for the best hahaha. I had a small amount of a certain tapestry fabric leftover in—whaddya know—a perfectly sized rectangle. Oh and there's still the matching vinyl left? Score. I wanted my sign to be relevant to my shop and, well, to cost me nothing. I laughed when I found this piece of fabric because it couldn't have been more perfect.

As for the DIY itself, I kept it simple. I printed off the text in the size I wanted, cut out the letters to act as stencils, traced them onto the vinyl and then cut them out again. Finicky, but not as time consuming as I had expected. I then trimmed and hemmed the fabric and glued the letters. Simple yet effective!

Multitasking: my table was totally in craft-show-test-run mode.

Ready to glue!

I'd say I'm almost ready for the show. My main concern is finding one more display item. I must consider a plan B if I can't find anything suitable. Thank goodness for Pinterest! It's actually been saving my butt when it comes to display ideas! Check out my craft show board for inspiration!

Happy long weekend!

Saturday, April 6, 2013

Sewing Day

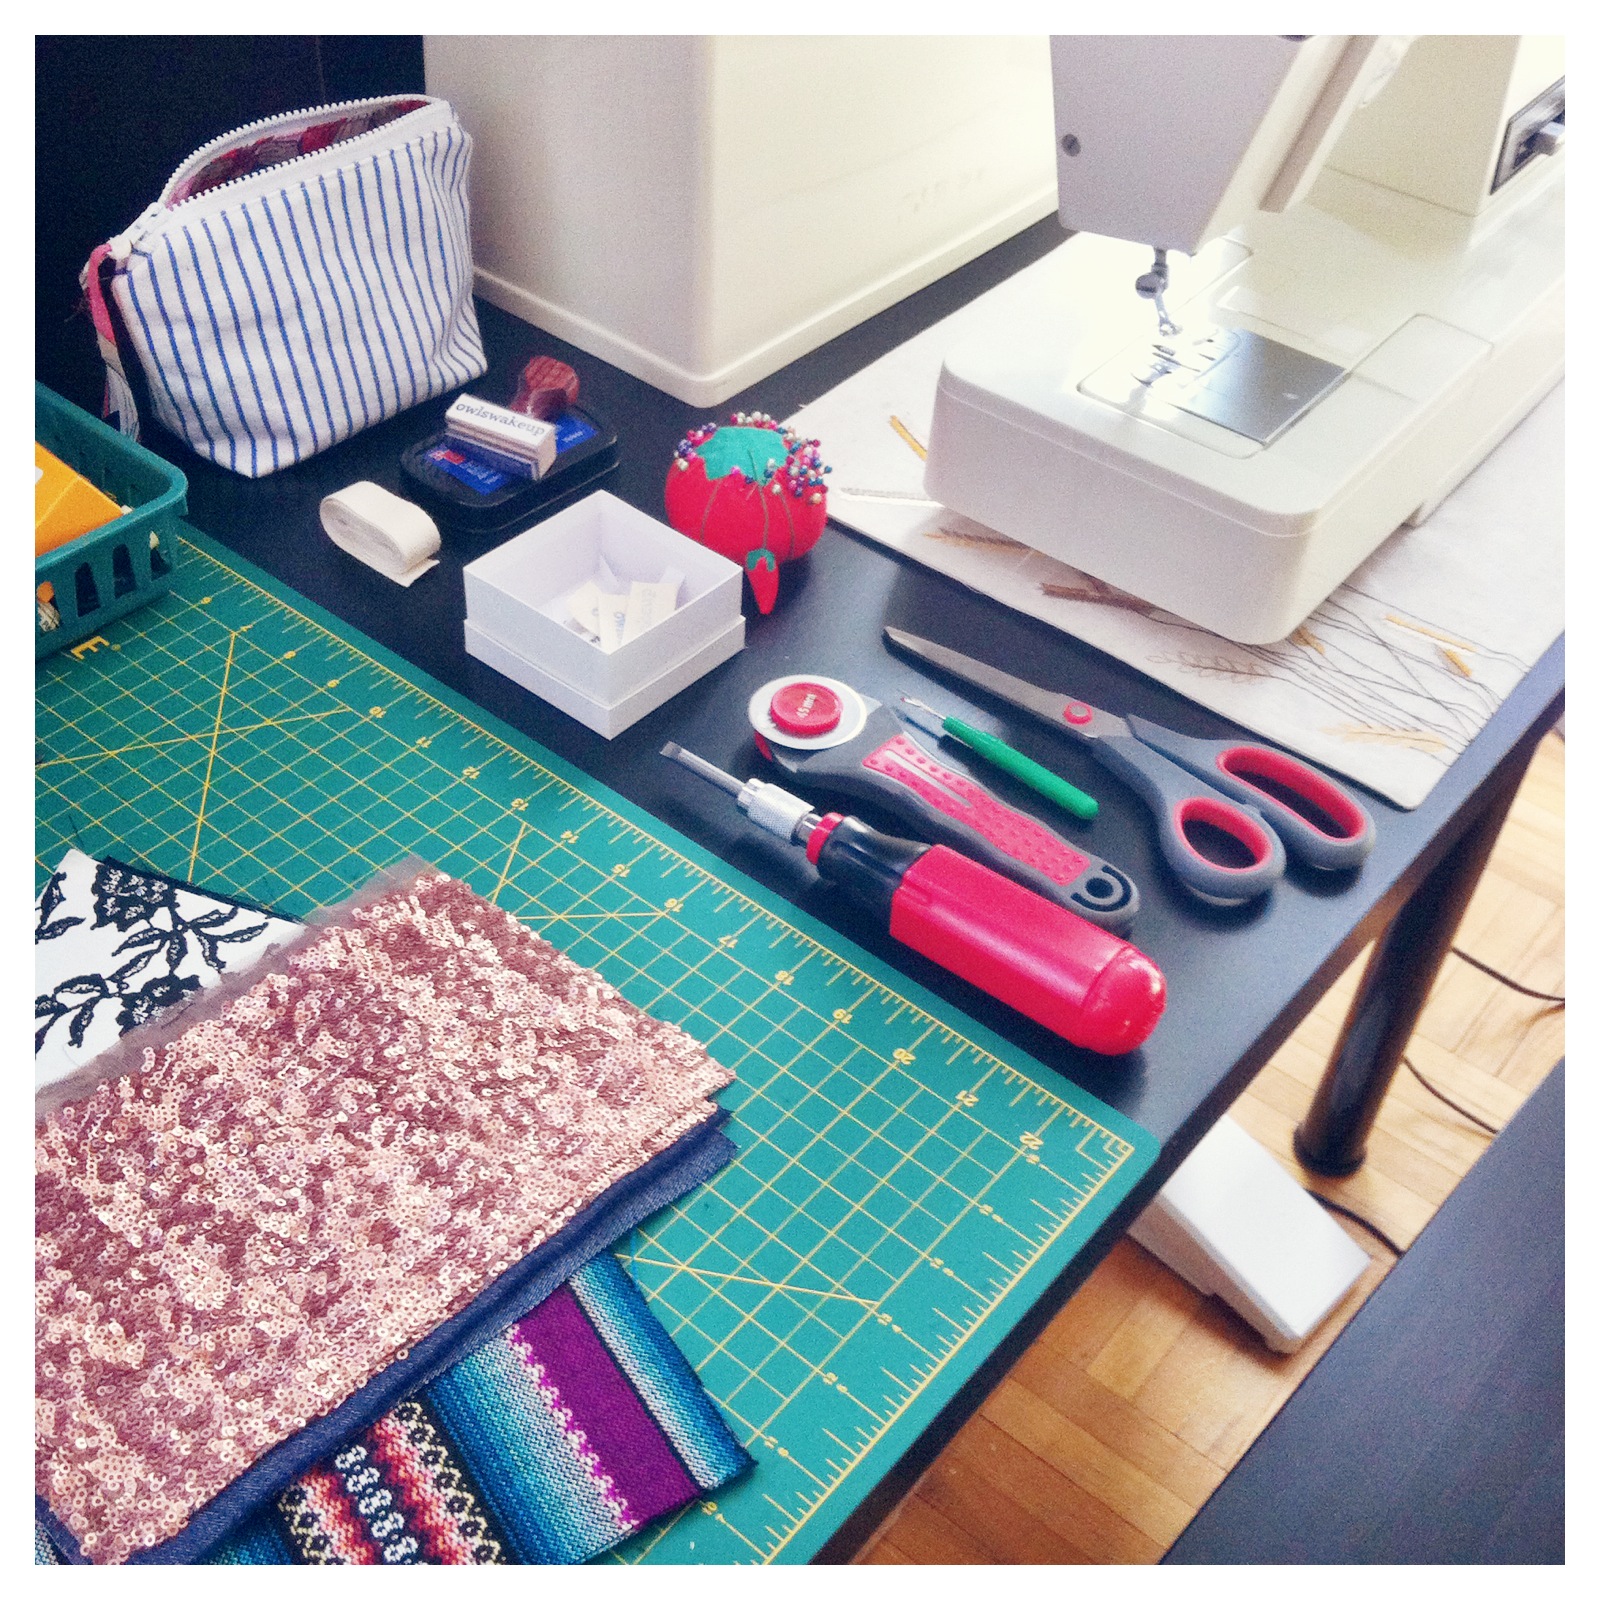
Happy Saturday! Today is a serious sewing day. I've got the lovely Bat for Lashes on shuffle, a cup of Vanilla Oolong (from the perfection that is DAVIDsTEA) and some gorgeous new spring fabrics to work with! Let's go!

New pretties...

Ready to rock!

Saturday, February 16, 2013

Favourite Things

My friend Leia and I recently spent a few weeks embarking on a Closet Shopping challenge. The idea was to come up with brand-new work outfits using the clothes we have instead of feeling like the only "new" things were from stores. We sent each other photos every morning and the challenge forced me to try combinations I would have never considered. It was fun!

The whole idea it got me thinking about appreciating other things I own, not just clothing. I am trying to cut back on shopping in general. The internet makes lusting after things just part of my day (stupid Pinterest!) but in my home there are certain pieces that will follow me anywhere.

1. My beast of a sewing machine.
2. & 3. Embroidery by my grandmother.
4. Topaz and garnet ring from One Garnet Girl.

Happy long weekend!

Wednesday, February 13, 2013

DIY Makeup Bag


This tutorial will show you how to make a cute and easy pouch for your cosmetics! Make one for your purse or as a gift. Let's get started!

What You'll Need: 

Sewing machine, matching thread, 7 inch zipper (I'm using a nice chunky one for this project!), cotton lining fabric, sturdy outer fabric, zipper foot, regular foot, seam ripper (hopefully not!), iron, ruler, pins.


I love to use tapestry or upholstery fabrics because not only are they gorgeous but they are strong enough that you don't need to use interfacing to maintain structure.

Cut 2 pieces of your outer fabric at 9 x 6.5 inches, then cut 2 pieces of your lining fabric at the same dimensions, 9 x 6.5. Cut 1 piece of your lining fabric at 6 x 1.5 inches for your zipper tabs. (I like to leave lots of fabric to ensure the tabs don't get sucked into the machine.)


Cut 1.5 x 1.5 inch squares out of the bottom corners of each of your four 9 x 6.5 pieces. This will create the base later on.


Zipper Tabs:

With your iron, press your 6 x 1.5 inch piece of fabric in half lengthwise, open, press edges again towards the crease in the middle. Fold together along the original crease and press again. Cut into two pieces (one for each edge of your zipper). Trim your zipper edges about 0.25 inches so your tab can fit snugly next to your zipper. Using your zipper foot attachment to get your seam as close to the zipper as possible, attach your tabs. Trim edges.


Attaching the Zipper:

Align your zipper face up on your lining fabric, centered along the top edges.


Place your outer fabric on top of the zipper and lining right side to right side. Pin. Sew. Pause in your sewing with the needle in the fabric to secure alignment, lift your foot and move the zipper head out of your way as needed.


Open up your fabrics and place the other two pieces on the other side of the zipper and repeat. Always take the time to make sure the zipper head is well out of the line of fire.


Press open and top stitch down each side to finish your zipper.


Finishing:

Open the zipper. Match up right sides of each of your inner and outer fabric. Pin. Sew one seam straight across both sections with the seam allowances from your zipper always flattened toward the lining. I use the edge of my foot as a guide for my seam allowance. Slightly less than half an inch. Sew the second side.


Sew the base of the outer fabric. Now sew about an inch on each side of the base of your lining fabric from the edge towards the centre. Leave enough space to get your hand or a few fingers through. You'll need this and the zipper open to turn your project right side out in the end but you need the edges secured for the next step.


Pinch the corners together so the 1.5 inch cut edges form a straight edge with your seam centered then sew. Always be sure to backtrack your seams. I like to start these corners with my foot in the center and then go backwards and forwards for secure seams (see below picture for reference).


Make sure you are keeping your seam allowance on the bottom pointing in the same direction (instead of having a twisted bottom) when pinching together the second corner. Do the same thing for the lining corners.

You'll be left with an interesting balloon shape thing.

Now the fun part! Reach in through the opening you left in the base of the lining fabric and very gently pull your pouch right side out. Smooth out the corners.

Press together the opening of your lining. Pin. Sew. Put the lining back into your pouch.


And voila!


Hurray! Also, if you are not sewing inclined, I have these pouches available in my shop so you can check them out there too!

Thursday, January 24, 2013

Antique Sewing Machine

Over the winter holidays, my mom and I pulled out her old Singer sewing machine to play with. I was almost as excited about this prospect as I was for the holidays themselves! The sewing machine was my mother's grandmother's so we estimate that it's at least 75 years old. It's electric, but instead of a pedal it has a lever that hangs down from the table that you nudge to the right with your thigh. A weird adjustment but you get used to it quickly enough.

The lever is very easy to set off by accident!

It was a lot smaller than I was expecting. And heavy.

This machine is in such lovely condition.

With no real project in mind, we tried out as many of the attachments as we could. The gathering foot was by far the most impressive. It lifts your fabric and aggressively tucks it into ruffles while you sew. Very neat, if a little intimidating. We couldn't get the binding foot to behave, and had some difficulty finding the right tension. It doesn't help that none of the knobs are labeled!

The gathering foot is the scary-looking one on the right!

These are the cutest bobbins I've ever seen.


Overall the Singer is in excellent condition and it was a super fun experience to work with a machine so different from what I'm used to! There's a chance that it might get its own table in my mom's craft room instead of hiding in the closet. If that's the case, I'll definitely be getting some more practice in…and maybe posting some projects! :)