Tuesday, December 31, 2013

Lookback


I cannot believe that this year is almost over. 2013 was my first full year as an active Etsy seller, something I had wanted to jump into for quite some time. And I accomplished quite a bit! My goals were firm but doable: grow owlswakeup, do a craft show or two, keep blogging. I have more than achieved that. I had strangers order my clutches and patterns (and if you're an Etsy seller, you know the first Stranger Sale is something to be celebrated!), I learned new sewing techniques, I connected with others with my DIY posts, and I did 8 days of craft shows. I wasn't as consistent as I would like with the blog but that will hopefully find its rhythm in the new year.

The main thing I have learned?

Always be better.

These few words have stuck with me throughout the year. It's okay to make mistakes, to take breaks and reevaluate, to try something new, something risky. Because no matter the experience, you learn from it and you'll always be better next time. These few words don't get me down, they excite me. Life without challenge is boring. Projects without enthusiasm are doomed. We can't constantly compare ourselves to others and feel down. I am proud of my ability to see the success of others not as a failure in myself, but as an opportunity to grow.

To quote my beloved Fever Ray, "Now's the only time I know."

Here's to 2014!

Friday, December 27, 2013

Winter Sale + New Listings!


Happy Holidays! 

Everything in my shop is 20% off with the coupon code WINTER20 at checkout. I've also finally listed tons of the new goodies I made for the craft show season in the shop as well, so there's lots to see!


Wednesday, December 18, 2013

Favourite Christmas DIYs

Every year before Christmas I get super excited about all the things I want to make. Then I blink and it's Christmas Eve and I've barely wrapped any gifts yet. One day I will be on top of things! For now, here are a few of my favourite DIYs this year that I didn't have time for:

Vintage Inspired Hanging Birds - A Beautiful Mess

DIY Brass Tack Baubles - Fellow Fellow
15 Creative Tags compiled by Apartment Therapy
Balsa Wood Diamond Ornament - A Beautiful Mess
Holiday Snowflakes - The Pink Couch

Wednesday, November 27, 2013

Wednesday Wishlist - Winter

Here are a few things I'm loving lately...and maybe have already added to my Christmas list. Heehee!


I'm in the middle of craft show bonanza. It's been pretty fun so far, although the weekends sure do fly by! Here are the two shows coming up this week:

Saturday, November 30, 2013 
Crawford Bar at 718 College Street
Time: 11am-6pm
Admission: FREE

Sunday, December 1st, 2013
The Central at 603 Markham Street
Time: 2pm-8pm
Admission: FREE

Tuesday, November 19, 2013

Covet


Hello all! This weekend I am participating in a pop-up holiday shop in Kensington Market! 
Here are the details...
 
Saturday November 23rd and Sunday November 24th 
The Guild Pop-Up Gallery, 143 Augusta Avenue, 2nd Floor (Kensington Market)
Time: 12pm-5pm
Admission: FREE

The Guild presents a holiday pop-up shop at our space in Kensington Market featuring one-of-a-kind merchandise created by local artists and crafters. Come buy some gifts for your friends + family and support the community.

Also: HOT APPLE CIDER! COOKIES!
Supporting Art City in St. James Town.


Woohoo!

Wednesday, November 13, 2013

owlsinstitches


Guess what?

I have a second Etsy shop!


What is it?

A shop selling PDF patterns as instant downloads.

What are they for?

For now it's only knit and crochet patterns but soon there will be cross-stitch as well!
The knit/crochet ones are also available as Ravelry downloads. (You don't need an account.)

An Etsy exclusive includes the 3 for $10 headband pattern bundle. (Thanks to the lovely Leia for modeling!)


Wednesday, November 6, 2013

Toronto Indie Arts Market

Hello! This Saturday is my first craft show of the Season. (Can I capitalize that like British ladies? Let's go with it.) It's the Toronto Indie Arts Market taking place at the Gladstone Hotel.


I'd like to say I'm ready. And I probably am. But honestly I have no idea. I've only done the one show and since I am introducing a ton of new goodies, I have no idea what will be more popular than others! But luckily I'll have a couple weeks between this show and full out craft-show blitz to get my act together!

I do foresee myself buying more sequins though. Because.


Thursday, October 31, 2013

Winter Craft Shows

Hello and happy Halloween! I suppose it's a bit too early to think about Christmas but I am in full holiday mode, now that I have my full craft show list for this coming season!

I decided that I wanted to do at least two more craft shows this year. I waited patiently for a suitable vendor call but for a while it was all too expensive, too far, too requiring-of-tent. Then a ton came through at once and I applied like a madwoman and...well...now I'm doing a ton of 'em. I am super super excited but also maybe a bit scared? Time to start sewing like a madwoman! Prepare for sequin overload!

See you there?


Toronto Indie Arts Market
Saturday, November 9th, 2013

The Gladstone Hotel at 1214 Queen Street West
Time: 10:30am - 4:30pm
Admission: $5

Covet
Saturday November 23rd and Sunday November 24th 
The Guild Pop-Up Gallery, 143 Augusta Avenue, 2nd Floor (Kensington Market)
Time: 12pm-5pm
Admission: FREE

Maker’s Market
Saturday, November 30, 2013 
Crawford Bar at 718 College Street
Time: 11am-6pm
Admission: FREE

The Sassy Little Craft Show
Sunday, December 1st, 2013
The Central at 603 Markham Street
Time: 2pm-8pm
Admission: FREE

Firsthand Fair
Saturday December 7th and Sunday December 9th 
Sneaky Dee's at 431 College Street
Time: 11pm-5pm
Admission: FREE

Monday, October 28, 2013

Tiny Workspaces

I love my apartment. It is the first place I've lived that is truly mine. I love the neighbourhood, the view, the green space, the proximity to the subway… I could go on!

However, since starting my Etsy store last year, I'll admit I am sometimes (constantly) longing for a second bedroom as my "dining table" has taken on the role of the sewing studio. I think I've finally gotten a layout that I can easily work with but I am the sort of person who likes to see all my stuff at once. Open shelves of fabric, peg boards for tools, white boards, fabric swatches on the walls etc. I'd love to be able to spread out someday.

So...clean.

It has been an exciting challenge figuring out the ways to best make use of such a small workspace. All in all the changes I've made have been unobtrusive (except on particularly enthusiastic sewing days…that's when no visitors are welcome), but any crafter would agree that having a space dedicated to your creative endeavours is living the dream! Also, if I had a bigger space I would consider making bigger items haha.

I have used this table for eating less than 5 times. Ah well.

It stayed this clean for about ten seconds.

So organized!

While lusting after craft rooms, I turn to staring at my pinboard.

Friday, October 25, 2013

Psst!

Here's a sneak peek at some of the new things I've been working on--all available at upcoming craft shows!

Change purses!

Sequins!

Leather!


See you there?

Tuesday, October 22, 2013

Adventures in Sewing

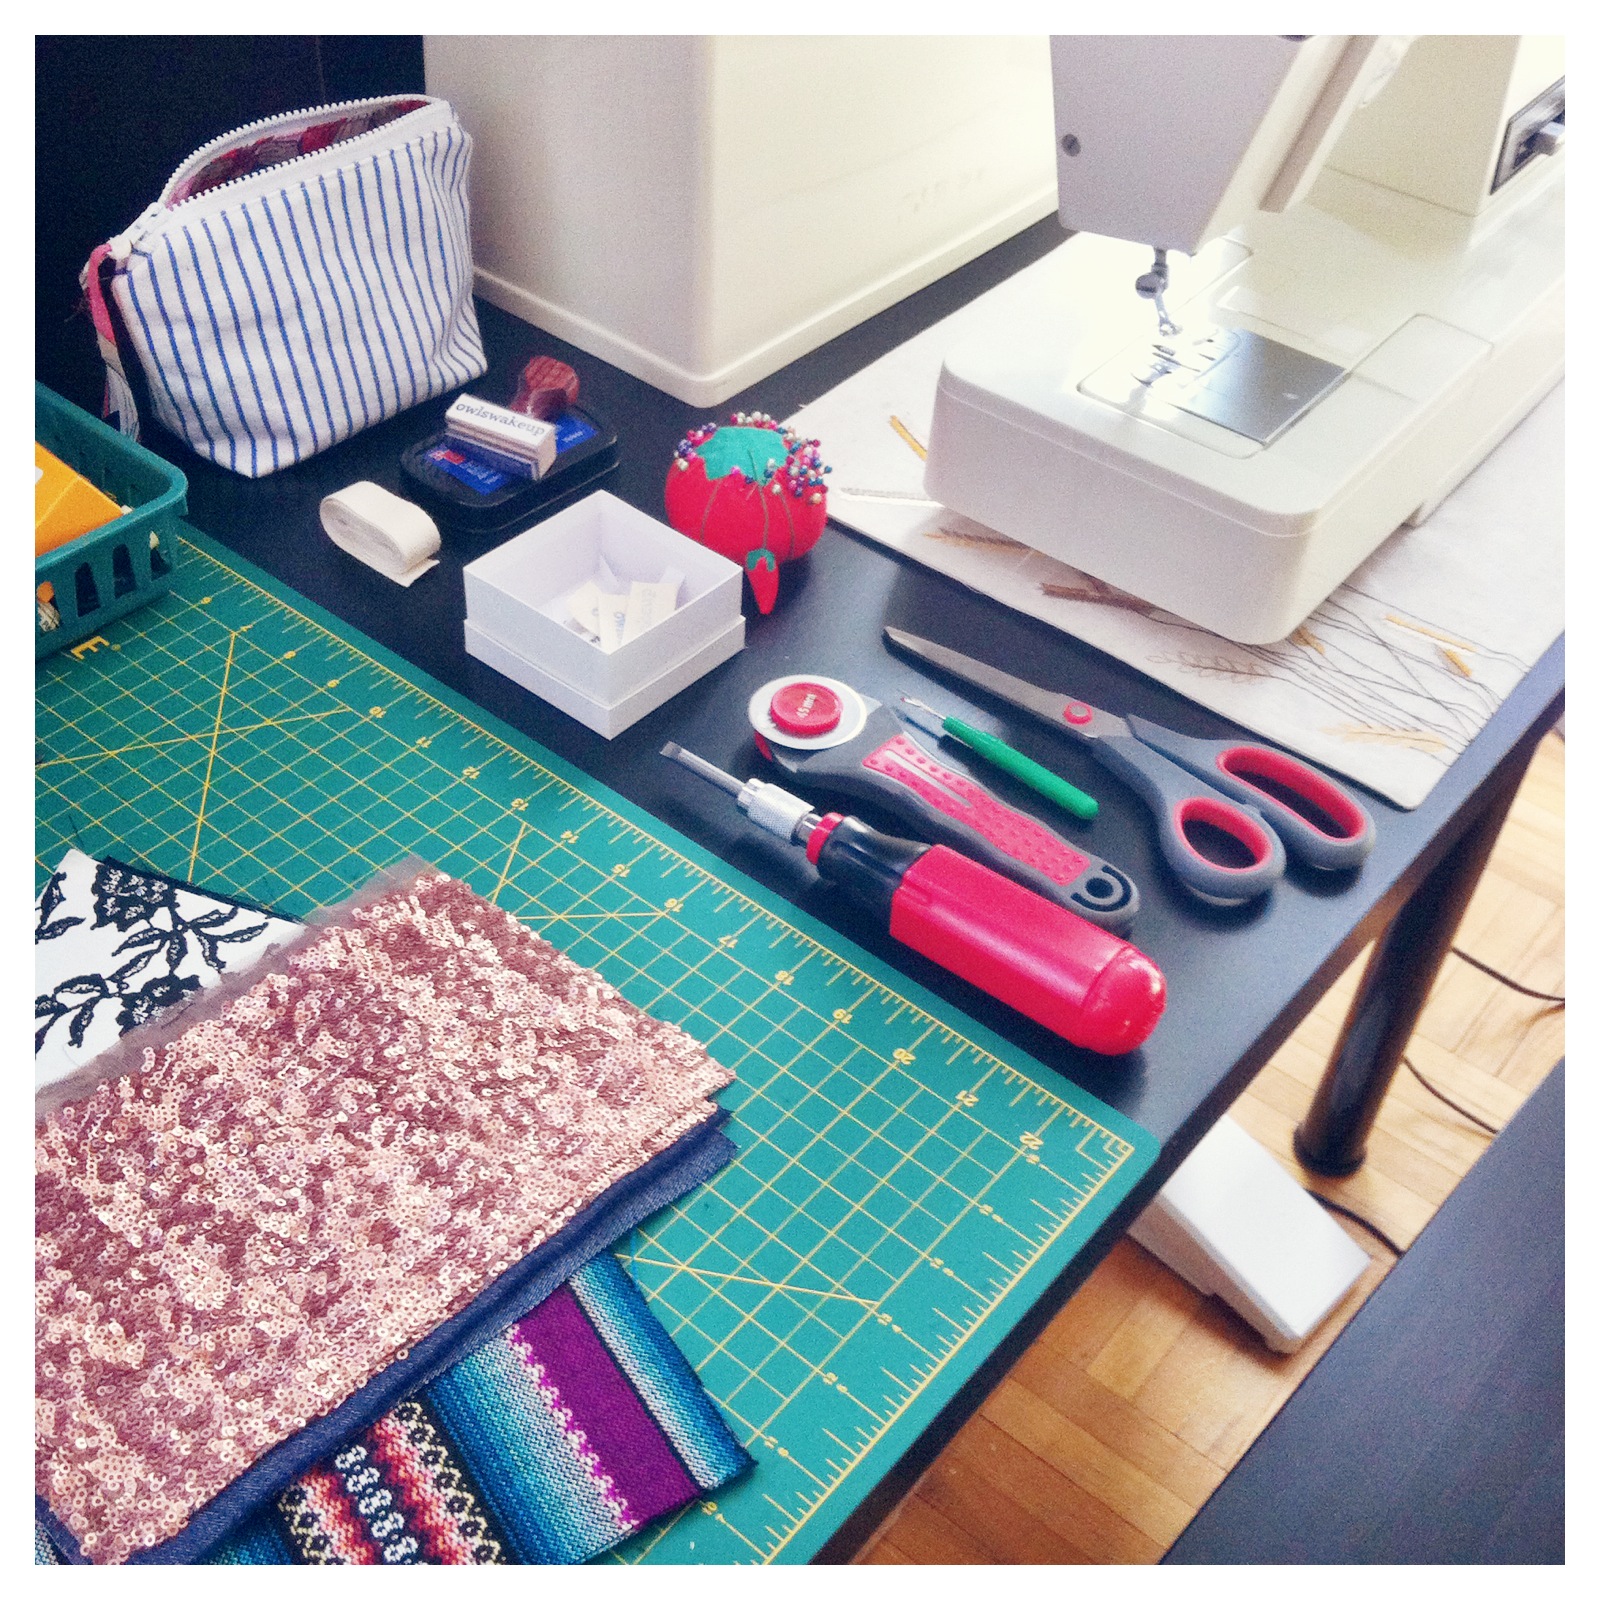
This is a ranty/jargony blog post. You have been warned!

So, my sewing machine can't handle leather. It just can't. I thought maybe only industrial machines could do it but after watching some YouTube tutorials featuring dudes sewing leather no problem with domestic machines, I knew I must be missing something. Turns out that something was a walking foot--an attachment that has feed dogs that sit on top of your fabric, allowing all kinds of material to pass through smoothly. Whenever I tried to sew leather before, my machine would shake, sew in one place, or in crazy zigzags. It just couldn't handle it.

My mom lent me a walking foot a while ago but I put off trying it out because I was nervous that it wouldn't work and then where would I be? Well, it didn't work, but for a reason I couldn't have predicted. It didn't fit!

Nooooooo!

It hovered about half an inch over the plate, holding nothing in place. I started investigating and discovered there were different levels of shanks--the distance between the bottom of the presser foot and the screw that holds your foot in place. The walking foot my mom lent me is a low shank which fits her machine no problem. I thought I needed a high shank. Seems simple enough, right?

From here.

Nope. I found a forum post from a girl who had my exact Singer sewing machine (model 6233) and was confused as to why her walking foot didn't go all the way down to the plate. My exact problem! I hit the jackpot. Reading on, I was surprised to see her machine had a slanted needle.

Wait, what?

My machine has a slanted needle? No way. That's weird. I called my mom (I was at work at the time, driven mad by the fact that I couldn't just look at my machine for answers) and asked her if she remembered the machine's needle being slanted, as it was her machine years before it was ever mine. She was as shocked by the prospect as I was and we both felt we would know if the needle was slanted.

Oh, so wrong. I got home and saw this:


Whaaaaat. Upon further investigation, it seems that the slanted nature of the needle is probably the reason why my mom and I prefer this machine. Having the needle slanted towards you actually increases visibility while sewing, as the light hits the needle full on.

Okay. So I needed a walking foot for a slant needle.

I called my go-to supply store to see if they had what I needed. The owner hadn't heard of a slant sewing machine but he said he would contact his supplier. He called me back a few minutes later saying the supplier hadn't heard of slant, either. Only high and low shanks. I see... I called one more place and was met with a "WHAT??" I didn't understand. The slant needle is definitely a thing, albeit rare. When I told friends about the slant they reacted with concern, as if my machine was in need of repairs. It's not common, but sewing supply stores really should know about it. I did eventually find a ton of slant needle attachments here including this walking foot that specifically said it was compatible with my Singer model, 6233.

Turns out, finding this website was a dream come true. Quickly giving up on the idea of buying the part in stores, I ordered the foot. They processed and shipped my order within hours of placing it, responded to my email queries promptly, and I received my part not even a week later. Not to mention the walking foot is perfect. It fits like a glove and sews leather with ease. Game changer!


Now that I can work with leather, my to-sew list has increased dramatically in preparation for holiday craft shows!

A sneak peek!

Saturday, October 19, 2013

What's Up?

Hello there!

How's your week been? Mine's been pretty fabulous, actually. Lots to get excited about!
Early this week I found out I am doing yet another craft show this season! It's the Sassy Little Craft Show on Sunday December 1, from 2-8 at The Central (by Honest Ed's). You can get more details regarding which shows I'll be at under Upcoming. So much to prepare for! Of course I want to overhaul everything I did at my last show. We'll see what the next fews weeks allow.

Monday was an absolutely glorious day so my friend and I took a stroll through Cedarvale Park. It was stunning.


One evening this week my friend Dana and I took a trip to Biko's sample sale held in her gorgeous studio! We had a ton of fun ogling (and buying) her amazing pieces. And letting Corrine know just how much we love her.
Earrings...all $5!
Our shared shopping tray.
The lovely Dana, modelling a fierce necklace.
Studio HEAVEN.
My spoils. Including the studded earrings I won from her Instagram contest!

This weekend I am trying out a wicked new sewing attachment and will report back soon with sneak peeks at new pieces you'll be able to check out at craft shows this holiday season!

Until then...

Tuesday, October 15, 2013

Office


Hello! I meant to write this post ages ago but it just kept getting pushed and pushed but now here we are! When I moved into a new job in the past few months, that also meant moving into a new workspace. I had some time to prepare for this so I devised a strategy which was basically "spend no money." I think I did pretty darn well! I tried to use as many things that I already owned and then thrifted the rest. When it came to actual artwork, I took to the internet for free images and hit BANK with the Biodiversity Heritage Library flickr page.

Thousands and thousands of gorgeous copyright free images it was extremely difficult to pick! I had an idea of what I wanted but when confronted with that much selection it took a while to narrow it down. In the end I picked 5 florals (one is now a binder cover) and 4 butterflies for my bulletin board. I resized everything in Photoshop and edited the images to make them more vibrant and consistent with one another.

Botanical images sourced from the Biodiversity Heritage flickr page.
Edited in Photoshop, printed at Staples. $7 total.

There's some work stuff on there...somewhere.
Instagram prints from Printsagram.

The back wall cluster was another challenge. As you can tell, I make great use of my floor when it comes to planning arrangements! The three watercolour birds are from Michelle Morin, the top left watercolour is from a trip to Lisbon and the photograph from Irene Suchocki.

Planning. All prints I already owned, bottom 3 frames thrifted.

Abrasive office lighting on the back walls. Broken lamp.
Tea credenza in progress.

 Gorgeous floral prints that matched my office decor perfectly.
An unreal Salvation Army find for $8 total.

Love everything about this wall. See the yarn basket?
Two camera images from Design Editor, printed at Staples. $10 total.

Dollar store jar, painted and sanded.

Needless to say I had tons of fun decorating this office! I don't have an office at home--all my workspaces are in the same room--so I approached this space as an extension of my apartment and I did so on a budget! Nesting happened immediately...and working, too, I guess. ;)

Thursday, October 10, 2013

Favourite Artist: Jeremy Miranda

My other favourite artist in the world is Jeremy Miranda, and he happens to be married to my other fav Michelle Morin! I can only imagine how gorgeously decorated their home must be.

I love things that make me feel. Just that. Jeremy's treatment of light evokes such strong feelings that I'm floored whenever he releases something new. He has this ability to perfectly capture every emotion in his work; especially the unexpected ones.

One of my favourites is Yellow Room. (I missed out on the original of this one last year and I immediately wrote to Jeremy, begging him to make me a print. Which he happily obliged.)

Yellow Room

Rose Light: I have the original of this on my bookshelf... Actually, my home is a split of Michelle's and Jeremy's art.

Rose Light Greenhouse

Explodey ships: Also sold out, I will likely have to beg for a print of this one, too. There's something about the contrasting chaos and beauty that totally does it for me.

Harbor

Library

Monday, October 7, 2013

DIY Labels // Custom Stamps


This is not so much a tutorial as it is a suggestion. I was initially hesitant to get a stamp made. I didn't really understand how easy it was going to be, or how inexpensive. When I was decorating my office I had to make a few trips to the Staples Print Centre and while investigating their pricing online, I saw they made rubber stamps. So I just went for it. I figured I'd be monopolizing the Print Centre employee (shout out to Eleanor!) that I may as well do everything all at once. The process involved a webcam chat with another Staples employe. All and all very exciting.


My stamp was only $10 but since I used a non-standard font, it was treated as an image and was created in a slightly different way, for slightly more money. The total was just under $20 and in my opinion was super worth it.


Now that I have my stamp, my opportunities are endless! I can use it on any sort of labels I want, whether it's this cotton ribbon, a different cotton ribbon, or if I want to stamp it directly onto the lining fabric. I can stamp it onto packaging ribbon, or as a seal on an envelope or thank-you card. I can change the inks as much as I want. I can use it on tags for craft shows, or on my friends' skin when they're not looking.

A worthy investment!