Thursday, October 10, 2013

Favourite Artist: Jeremy Miranda

My other favourite artist in the world is Jeremy Miranda, and he happens to be married to my other fav Michelle Morin! I can only imagine how gorgeously decorated their home must be.

I love things that make me feel. Just that. Jeremy's treatment of light evokes such strong feelings that I'm floored whenever he releases something new. He has this ability to perfectly capture every emotion in his work; especially the unexpected ones.

One of my favourites is Yellow Room. (I missed out on the original of this one last year and I immediately wrote to Jeremy, begging him to make me a print. Which he happily obliged.)

Yellow Room

Rose Light: I have the original of this on my bookshelf... Actually, my home is a split of Michelle's and Jeremy's art.

Rose Light Greenhouse

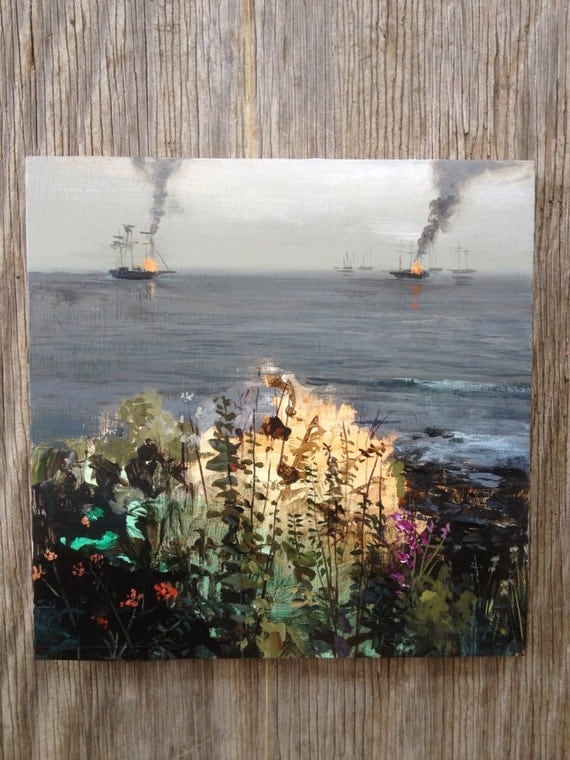
Explodey ships: Also sold out, I will likely have to beg for a print of this one, too. There's something about the contrasting chaos and beauty that totally does it for me.

Harbor

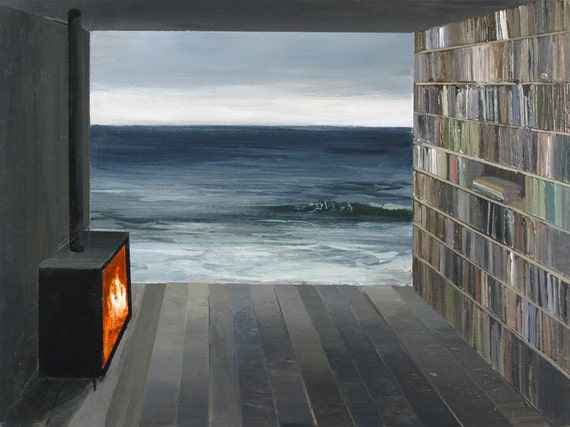
Library

Monday, October 7, 2013

DIY Labels // Custom Stamps


This is not so much a tutorial as it is a suggestion. I was initially hesitant to get a stamp made. I didn't really understand how easy it was going to be, or how inexpensive. When I was decorating my office I had to make a few trips to the Staples Print Centre and while investigating their pricing online, I saw they made rubber stamps. So I just went for it. I figured I'd be monopolizing the Print Centre employee (shout out to Eleanor!) that I may as well do everything all at once. The process involved a webcam chat with another Staples employe. All and all very exciting.


My stamp was only $10 but since I used a non-standard font, it was treated as an image and was created in a slightly different way, for slightly more money. The total was just under $20 and in my opinion was super worth it.


Now that I have my stamp, my opportunities are endless! I can use it on any sort of labels I want, whether it's this cotton ribbon, a different cotton ribbon, or if I want to stamp it directly onto the lining fabric. I can stamp it onto packaging ribbon, or as a seal on an envelope or thank-you card. I can change the inks as much as I want. I can use it on tags for craft shows, or on my friends' skin when they're not looking.

A worthy investment!

Thursday, October 3, 2013

Shop Update: Florals

Hello! Lots of exciting things going on this week. First things first, I'm thrilled to announce that I'll be at the Toronto Indie Arts Market on Saturday November 9 at the Gladstone Hotel! More details can be found here. I am so excited to have another show to plan for! Time for some fabric shopping ;)

Another new development is that direct checkout has finally been made available for Canadian Etsy stores. What does that mean? It means I can now accept credit cards and Etsy gift cards in addition to PayPal in my shop! Amazing news! This has been available for quite some time in American shops so it's really great that this convenience is being offered north of the border.

The final thing to announce is BAM. Shop update! I am in love with this batch so check out the beauties I added to the floral section of the shop last night!


Monday, September 30, 2013

Designer Crush: House of Harlow 1960


I love Nicole Richie's House of Harlow jewellery collection. I love everything about it so hard. The shapes, colours, materials, all perfect. I could make this into a picture post with all my favourites but I would likely go overboard, so I'll keep it simple and tell a quick story instead.

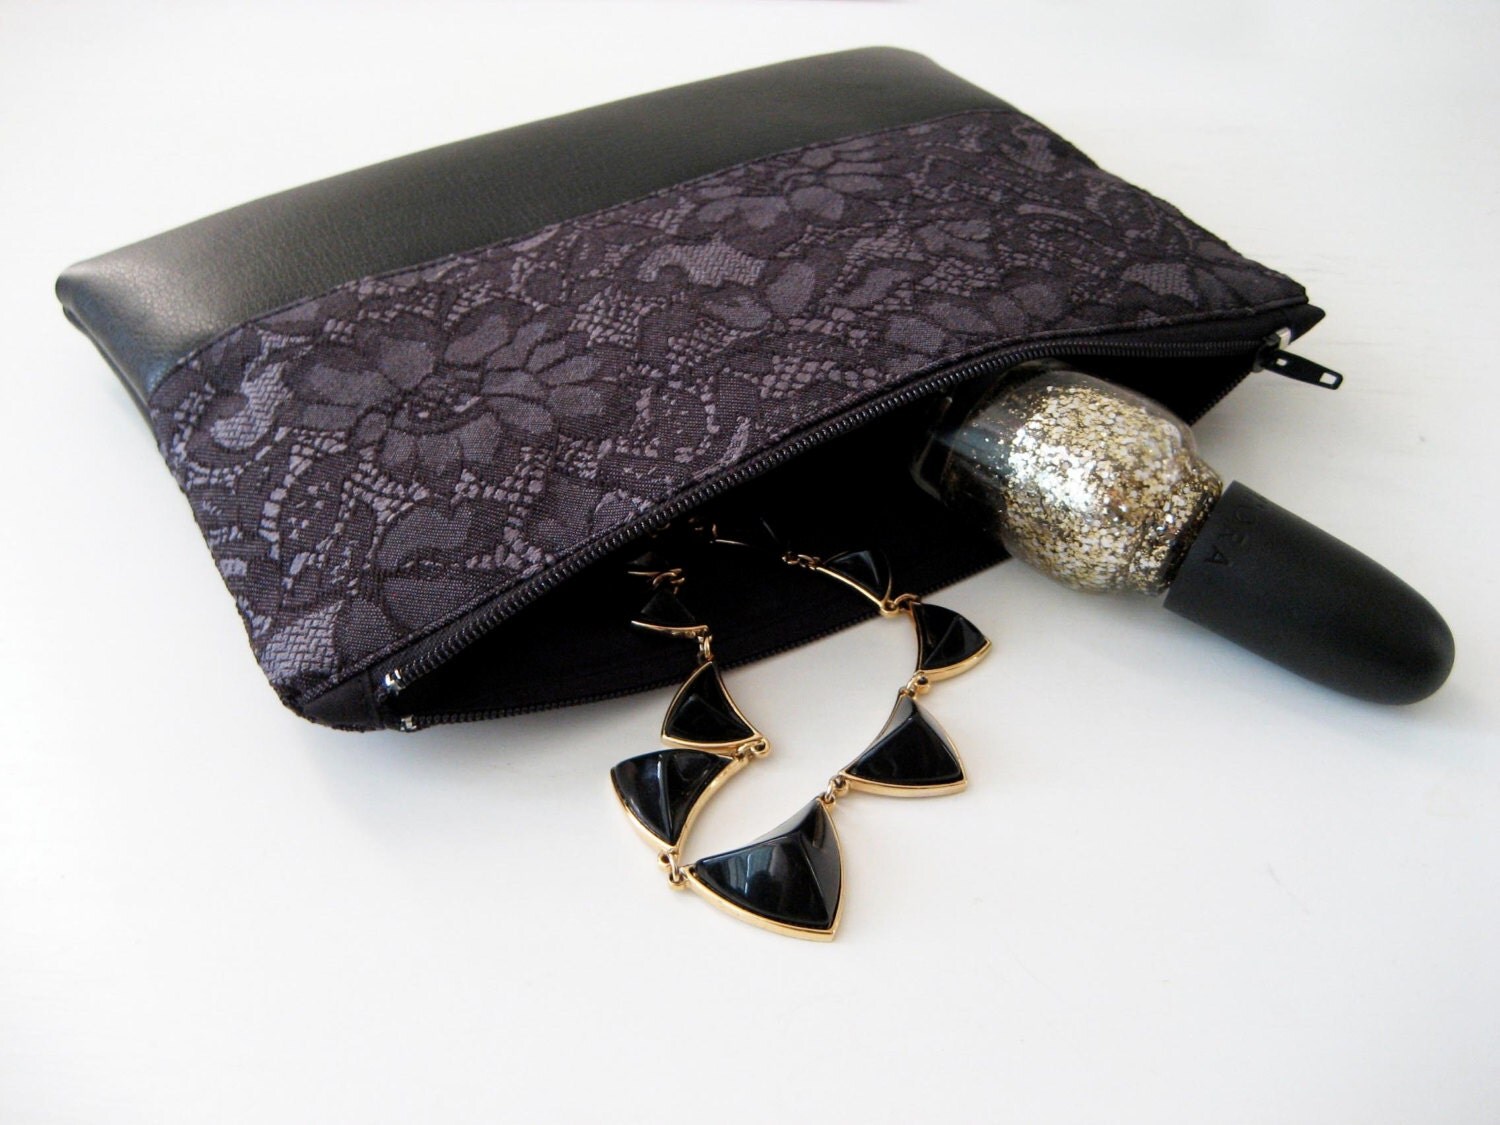
Despite my love I only have a couple pieces (the black pyramid station necklace making regular appearances in my Etsy listings). They're a bit pricier and with shipping, duties and exchange rates, I must choose my pieces carefully. However, yesterday I discovered that not only is there a store in Toronto that carries HOH jewellery, but that it's walking distance from my home! WHAT. How did my frequent Googling keep this crucial knowledge from me? I had quite an emotional reaction when I realized that the jewellery I was browsing at Poor Little Rich Girl was ALL House of Harlow because I was just that excited. Maybe I overreacted, and maybe I'm overreacting now by blogging about it but dayum, gurl, I was thrilled. Imagine! The novelty of being able to shop a favourite brand in person. The shop owner released the kraken when she told me she'd order any pieces I wanted if they didn't have it in stock.

Anyways, I collected myself and left with a modest purchase of a pair of earrings and what was left of my dignity. But I'll definitely be making monthly visits because it would be unreasonable not to.

Pic swiped from shopbop.com

Happy girl!

Friday, September 27, 2013

SALE


It's SALE time! Out with the old, in with the new! 
Head on over to the shop to check out the deals. $5 and $10 off select items!

Wednesday, September 25, 2013

DIY Spike Necklace


When a good friend of mine was visiting recently we made it a priority to visit Queen West which, for those who don't know, is Toronto's craft mecca. Tons of stores dedicated to fabric, beads, yarn, buttons and ribbon...mmm... My friend spotted these spikey beads in one of the stores and bought a few in gold. I thought they were so fabulous that I had to follow suit and voila! A DIY was born.

What You Need:


Pliers, wire cutters, small spikes, large spikes, jump rings and a clasp.

We found these spikes at Arton Beads in Toronto. They came in gold and silver, plastic or metal. These ones are plastic so the necklace is light and less of a weapon. Each pack came with roughly 25 beads at only a few bucks a pop. Not bad!


Cut two lengths of chain: 17 inches for the short spikes, 18 inches for the long spikes.

If you think you might want a different length for this necklace, always always always cut more chain than you need. Then you can trim to your heart's desire.

To attach the spiked pendants to the chain, you'll be using your pliers to open and close the jump rings.


Starting with the smaller spikes and the shorter chain, string the pendant onto the jump ring and slip it through one of the links in the middle of your first chain.

I started from the middle and worked my way out to ensure that my cluster remained centred. It's a massive pain to do all that work only to have to redo it!

Space them out about two chain links. The spacing totally depends on the size of the links of your chain so test it out. For my chain, I found 1 space left in between looked nicest.


Try to keep your chain as flat as possible when attaching your spikes.

Keep going until you have 2.5 inches of spikes (17 spikes), or, really, however many you want. You don't actually have to listen to me ;)

Once you get a ton of them on the chain they start to fall into a big cluster.

Move on to adding the longer spikes to the longer chain. Repeat the steps above in attaching the pendants however this time I left 3 spaces in between spikes, having a total of 3.5 inches of spikes (13 spikes).


When you are happy with how the spikes are looking, use two more jump rings to attach the chains (again, careful not to twist them) to your clasp and pow!


Ways to change it:
- Increase the number of spikes per chain.
- Increase/decrease the length of chain, creating more a different shape in the final necklace.
- Add a third strand of spikes, maybe a different colour.
- Paint the spikes using a bright nail polish.

Hope you enjoyed this tutorial!

Monday, September 23, 2013

Favourite Purses

I have a thing with bags, surprise surprise. Anyone who knows me knows that I have a LOT of purses, and that I think it's always a smart idea to buy more.

Warmer weather I want brightly coloured bags with thin straps. I tend towards smaller bags even though I am technically carrying way more things (sunglasses, water bottles, kites etc.) but cold weather for me means cross-body straps are mandatory. I cannot stand struggling to keep a purse on my shoulder while grocery shopping in a giant jacket. It usually ends with tears in the produce aisle.

Anyways, here are some pretty pictures of pretty purses.

My go-to summer purses. Both from Danier.

My favs. I use these whenever I can! L: A gift. R: Fossil.

Leather battalion. L: Gap, R: Hoakon/Helga (Etsy)

I've never been able to find the perfect black bag, however. It remains forever elusive to me. I guess that just means I'll have to keep an eye out to add to my collection!